
Be a Pirate! Terrain Elevation: Tower Placement Guide
Master Be a Pirate! terrain elevation with tips for tower placement, changing land routes, river defenses, bridges, and spending your Doubloons wisely.
Jump to
How Terrain Elevation Affects Tower Placement
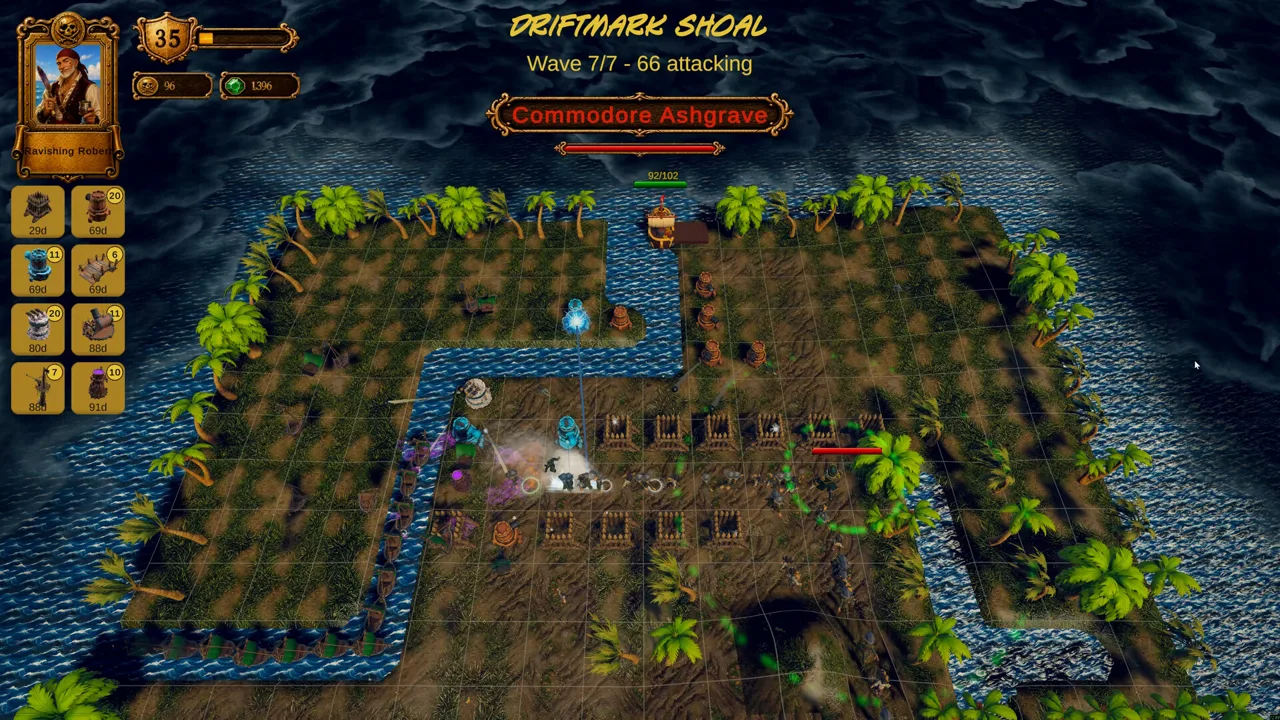
Your defense starts with the ground you build on. Be a Pirate! terrain elevation affects tower placement results, with the outcome depending on both the tower you choose and the height of the terrain. That matters when Crownsmen are advancing on foot while Crown Sloops are pushing down the river during the same wave.
Evaluate the tower and its position together. When comparing locations, consider the ground’s height alongside the enemies you need that tower to attack and the route those enemies will follow. Elevation is one part of a placement decision that also includes coverage, damage type, and your surrounding defenses.
Before committing more Doubloons to a position, watch whether its tower is contributing against the threats you built it to handle. Use that performance to guide your next placement or upgrade.
Official page: Be a Pirate! (store.steampowered.com)
Plan Around Moving Land Routes and a Fixed River
Land enemies reroute as you build, so each new structure can change the path your defenses need to cover. The river follows a fixed course, giving Crown Sloops a separate approach to your ship.
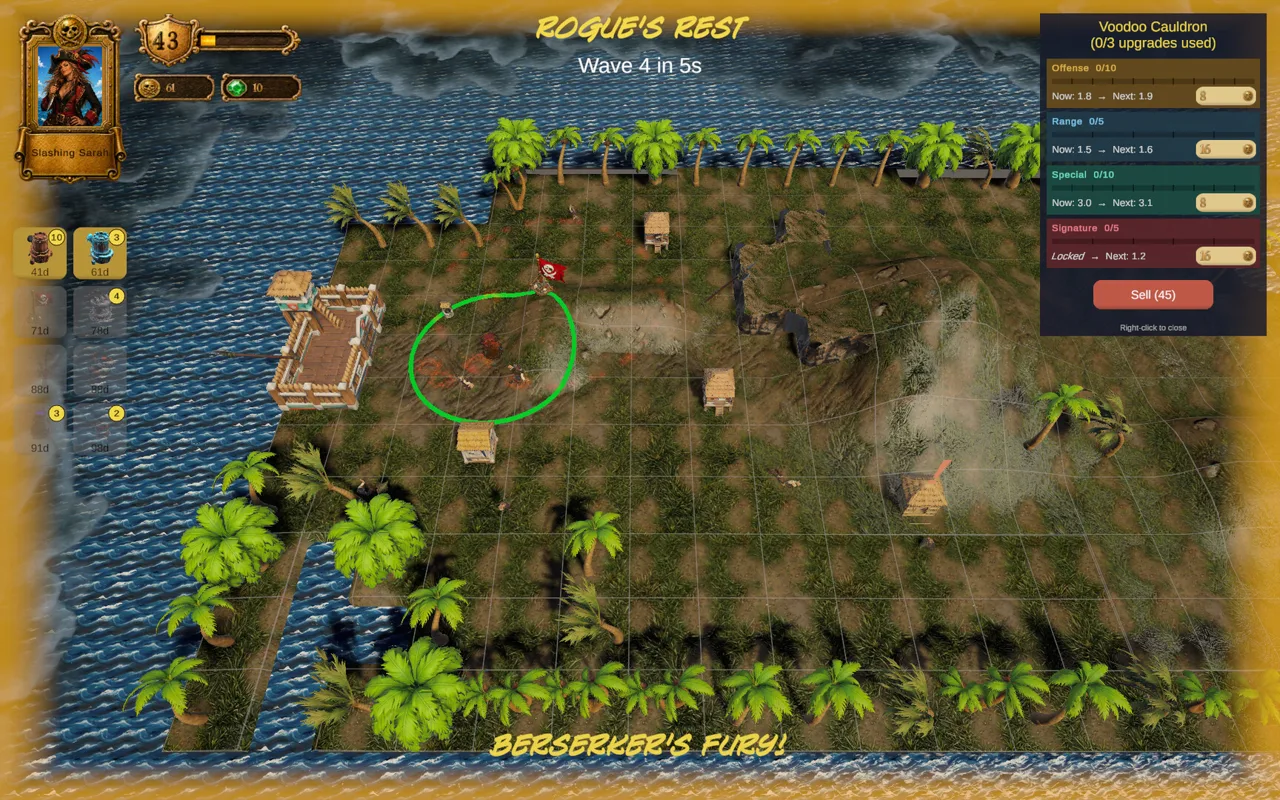 Image: Steam / Noble Rogues
Read those lanes together before expanding:
- Follow the land route after building. Check where the marching enemies now travel before choosing another tower position.
- Keep river defense in your plan. Extending the land route still leaves incoming vessels to deal with.
- Evaluate terrain beside the relevant lane. Match each position’s height and tower choice to the enemies passing through that area.
Bridges add another routing option: they let you turn water into a land lane. Crown Sloops continue underneath, unaffected.
When planning a bridge, account for both streams of traffic. Decide how to defend the land enemies crossing it while maintaining attacks against vessels traveling below. The bridge changes your land layout without stopping the naval approach.
Match Placement With Tower Upgrades
Each tower has four battle upgrade tracks: Offense, Range, Specialty, and Signature. You spend Doubloons on these during the match, so positioning and upgrades compete for the same resources.
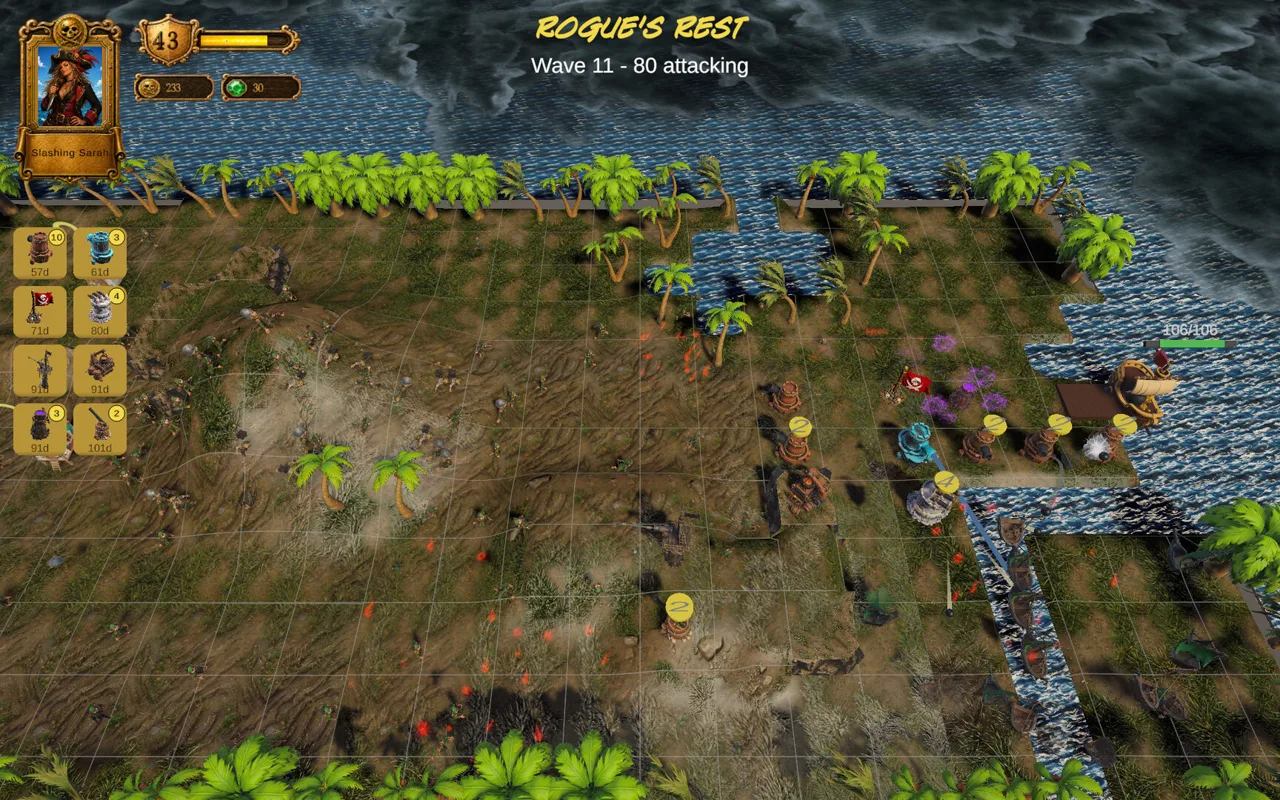 Image: Steam / Noble Rogues
Before buying an upgrade, identify the problem you want it to solve. Consider Range when evaluating coverage, Offense when evaluating damage, and the tower’s individual Specialty and Signature options when deciding how to develop its role.
Keep enemy resistances in that decision. Physical, Fire, Ice, Electric, and Poison damage interact with different weaknesses and resistances. Match damage types to the enemies causing trouble before investing further in a tower.
The roster also includes the Cannon, Voodoo Cauldron, Heliograph Battery, and The Commodore's Flag. The Flag increases the damage of nearby towers, adding another consideration to your layout. Plan its surroundings around the attacking towers you want to strengthen.
The Voodoo Cauldron uses poison, while the Heliograph Battery focuses on beams. Specialty upgrades are specific to each tower, and a Signature ability changes how that tower fights. Towers also change visibly as they develop during battle.
Fully Rigged gives you another concrete upgrade target: buy all 20 battle upgrades for a single tower. Every Gun Aboard instead asks you to win a battle with eight different kinds of tower built.
Use Map Challenges to Practice Your Layout
Two achievements give you concrete goals for learning placement and routing:
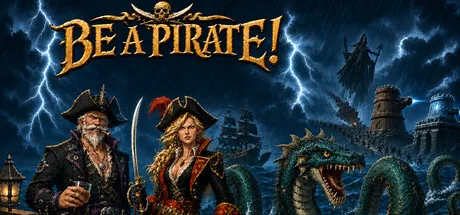 Image: Steam / Noble Rogues
- The Long Way Round: Stretch the enemies’ march to three times its starting length.
- Skeleton Crew: From Map 8 on, win on Deckhand or Captain with no more than 10 attacking towers built.
For The Long Way Round, focus on how construction changes the marching route while keeping the river defended. Recheck tower coverage as the path stretches.
For Skeleton Crew, assess each attacking tower’s contribution before adding another. Compare terrain height, lane coverage, damage type, and upgrade options as you work within the tower limit.
Continue with
 Be a Pirate! Maps: Locations, Difficulty and ObjectivesExplore 15 Be a Pirate! maps across the Crimson Expanse, each with four difficulties, captain ties, and waves that combine ground and river attacks.
More in Maps
See all Maps
Join the community
Official channels for news, updates and player help: