
Be a Pirate! Path Planning: Build Smarter Land Routes
Master Be a Pirate! path planning with smarter land routes, bridge placement, river defenses, and tower upgrades. Shape each map around overlapping fire.
Jump to
How to Plan Routes Around Both Land and Water
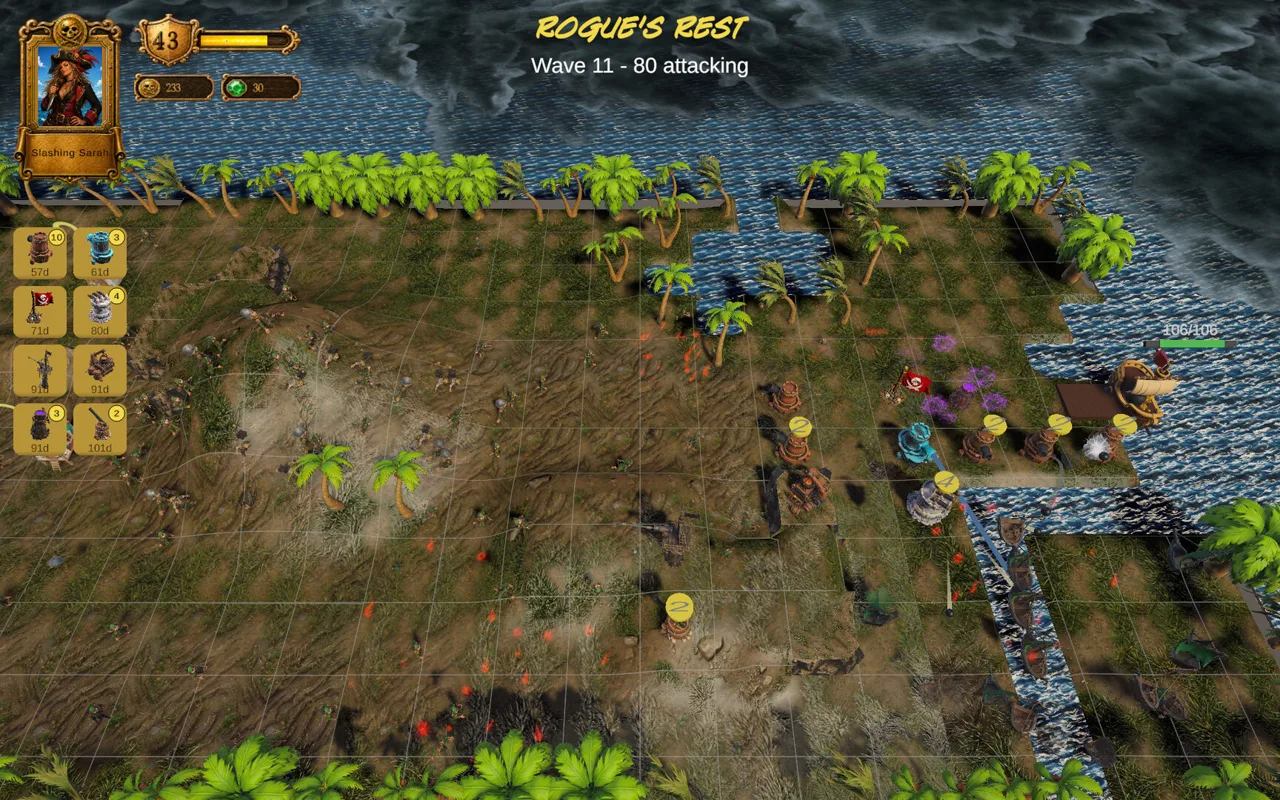
A longer enemy march only helps if your towers can punish it. Be a Pirate! path planning revolves around two simultaneous threats: ground enemies reroute as you build, while Crown Sloops follow a fixed river route. Shape the land approach around your firing positions, and keep enough coverage on the water to stop ships from slipping through.
Start each map by examining the river, the ground approach, and the terrain around both. The river gives you a stable route to defend; the land route is the part your construction changes.
Before committing Doubloons to a layout:
- Identify stretches of river your defenses need to cover.
- Look for nearby ground routes you can shape around attacking towers.
- Check how elevation affects your intended tower placements.
- Reassess the ground approach after construction changes its course.
Keep both fronts in view. A winding land route cannot compensate for an undefended river.
Official page: Be a Pirate! (store.steampowered.com)
Stretch the March Through Your Defenses
Ground enemies adapt to what you build. Use that behavior to steer their march through areas your attacking towers can reach.
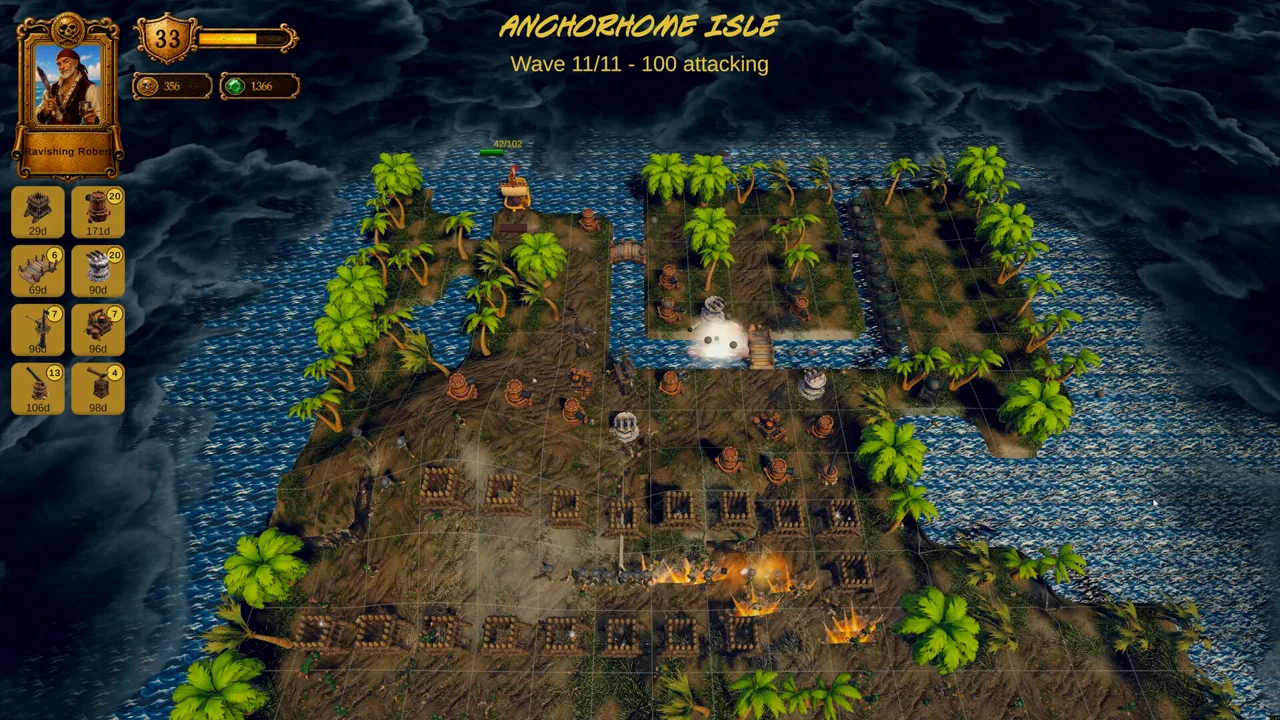 Image: Steam / Noble Rogues
Prioritize useful exposure over raw distance. When extending a route, examine where the extra walking happens. Favor detours through defended territory over long stretches beyond your towers’ reach.
For example, compare a broad loop around the edge of your defenses with a tighter route that stays near several attacking towers. Choose the layout that gives those towers more opportunities to engage, while preserving your river defense. This is a placement decision, rather than a reason to make every route as long as possible.
The The Long Way Round achievement gives route building a specific target: stretch the enemies’ march to three times its starting length. Pursue that objective deliberately, and check whether the added distance also improves your damage coverage.
Avoid expanding the maze automatically after every successful wave. Spend on the problem your defense actually has: insufficient time to attack, insufficient damage, or an uncovered approach.
Use Bridges Without Neglecting the River
Bridges change the land-routing puzzle by allowing a ground lane across water. Crown Sloops still pass underneath them unaffected.
 Image: Steam / Noble Rogues
That creates two separate questions whenever you consider a crossing:
- Where will ground enemies travel after the bridge becomes part of their route?
- Which defenses will continue attacking the ships beneath it?
Before building, trace the intended ground approach across the crossing and toward your firing positions. Compare that route with the existing approach. Use the bridge when the resulting layout supports your defenses.
Keep naval coverage in place throughout that decision. A bridge does not block Crown Sloops or force them onto the ground route.
Where land and water approaches run close together, examine whether nearby towers can serve both fronts. Check their targeting capabilities and actual reach before relying on that overlap.
Match Tower Placement to Terrain and Damage Type
Elevation affects tower placement and results in Be a Pirate!, so evaluate the terrain alongside the route. Check how the tower you intend to use interacts with that position instead of assuming every elevated spot offers the same benefit.
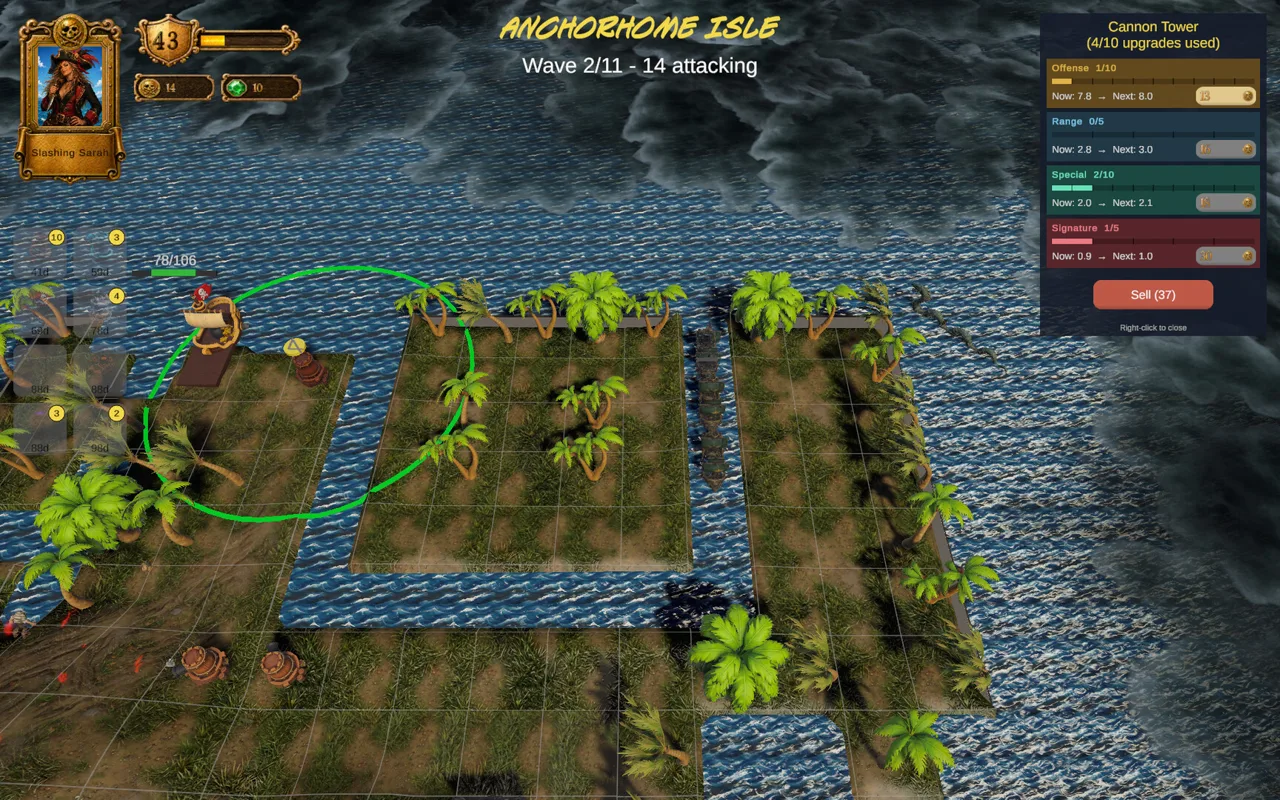 Image: Steam / Noble Rogues
The roster includes the Cannon, poison-focused Voodoo Cauldron, beam-focused Heliograph Battery, and support-oriented Commodore's Flag. The Flag strengthens nearby towers, making its position part of your overall defense layout.
When planning a tower cluster, work through these decisions:
- Route coverage: Place attacking towers where enemies will spend useful time within reach.
- Support coverage: Position the Commodore's Flag around attacking towers you want it to strengthen.
- Damage matchup: Choose Physical, Fire, Ice, Electric, or Poison damage around enemy resistances and weaknesses.
- Terrain interaction: Check how elevation affects the particular tower and position.
Do not try to solve every tough enemy by extending its path. Against resistant enemies and bosses, adjust the damage type as well as the route.
Spend Doubloons on the Weak Point
Every tower has four battle upgrade tracks: Offense, Range, Specialty, and Signature. Use those choices to address what is failing in your current layout.
If a tower falls short of an important route segment, inspect its Range upgrades. If enemies remain within reach but survive the barrage, examine Offense and their elemental matchup. Review Specialty and Signature options for changes to the tower’s behavior.
Compare an upgrade with another placement before spending. Strengthening an existing position can preserve a useful route, while a new structure can change where ground enemies travel.
After each construction decision, reassess the land path. After each upgrade decision, watch whether the tower now solves the problem you spent Doubloons to fix.
Plan Separately for Layout Achievements
Several achievements reward specific construction restrictions. Choose the challenge before designing your defense so your layout supports its requirements.
- The Long Way Round: Stretch the enemies’ march to three times its starting length.
- No Walls, No Problem: From Map 8 on, win without building a single palisade.
- Skeleton Crew: From Map 8 on, win on Deckhand or Captain with no more than 10 attacking towers built.
- Old Faithful: From Map 6 on, win using only one kind of attacking tower. Palisades, bridges, and the Commodore's Flag do not count.
- Shipshape: Win a battle without your ship taking any damage.
For Skeleton Crew, prioritize placements that keep your limited attacking towers engaged along useful stretches of the route. For Old Faithful, plan land and river coverage around the attacking tower type you choose, then use the permitted support structures to shape the defense.
For No Walls, No Problem, leave palisades out of the design from the start. Examine how your other construction choices affect ground routing, and preserve enough coverage to handle the simultaneous river attack.
Continue with
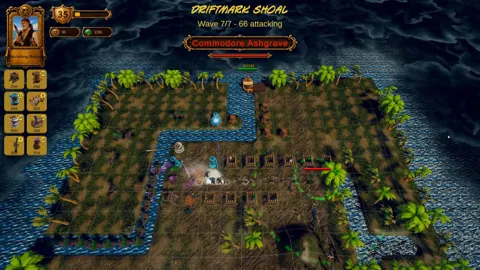 Be a Pirate! Terrain Elevation: Tower Placement GuideMaster Be a Pirate! terrain elevation with tips for tower placement, changing land routes, river defenses, bridges, and spending your Doubloons wisely.
More in Maps
See all MapsContinue exploring
Be a Pirate! Captains: Recruitment and Upgrade Paths
A compact reference to the 15 captains, their permanent bonuses and upgrade paths, recruitment objectives, and captain-specific battle achievements.
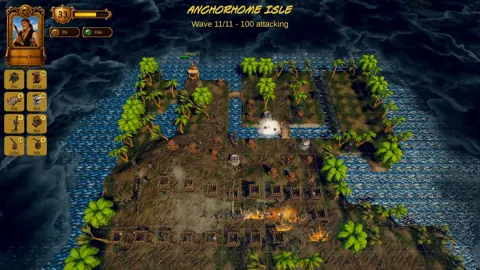
Be a Pirate! Armory Purchases: Towers and Gem Levels
Plan Be a Pirate! Armory purchases around tower ownership, Gem Levels, and battle upgrades. Learn the achievement goals and build for land and sea threats.
Join the community
Official channels for news, updates and player help: